- Shards of Solitude is a first-person survival horror released on Steam on April 14, 2026, by Chilling Designs — not a Roblox game.
- The “Shards” are stone slabs scattered randomly across the abandoned factory map, required to perform the ritual ending.
- There are 7 total endings: 3 on Normal, 3 on Hard, and 1 secret ending tied directly to slab collection.
- Slab placement is procedurally randomised each run — making a mental map more valuable than a fixed guide.
- Collecting slabs while being chased is the game’s core tension loop; efficiency and trap usage are the keys to success.
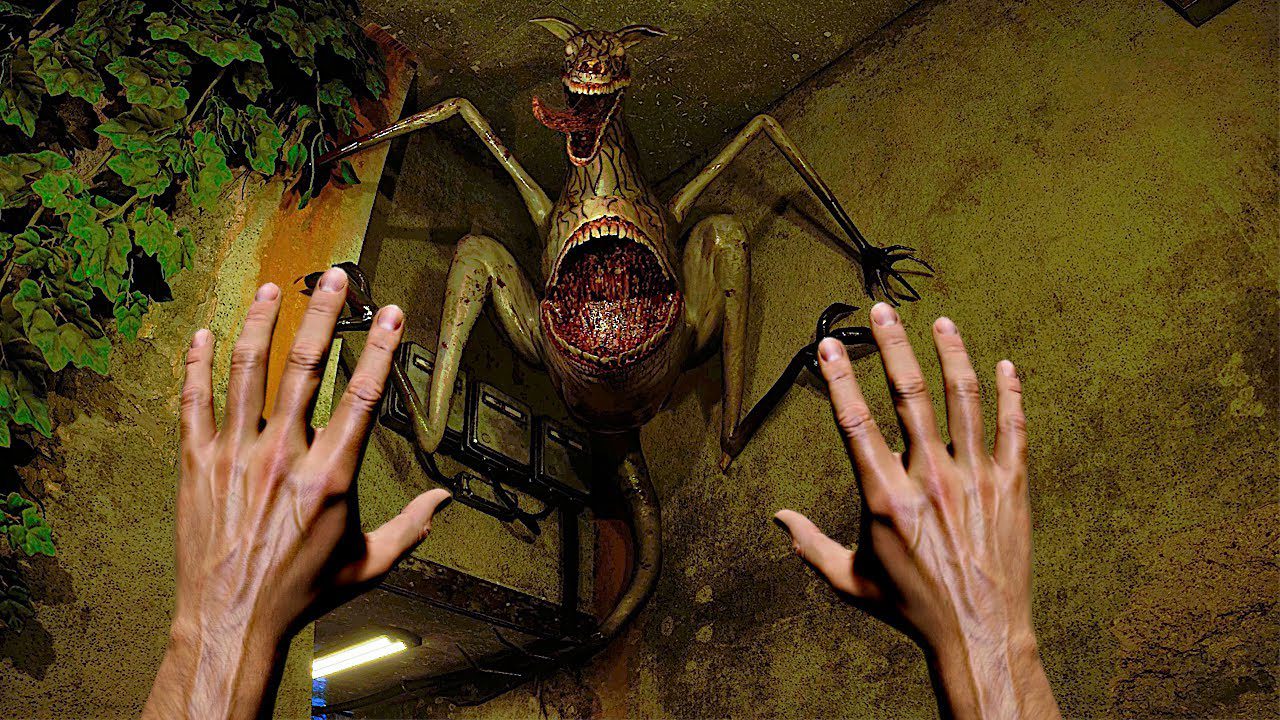
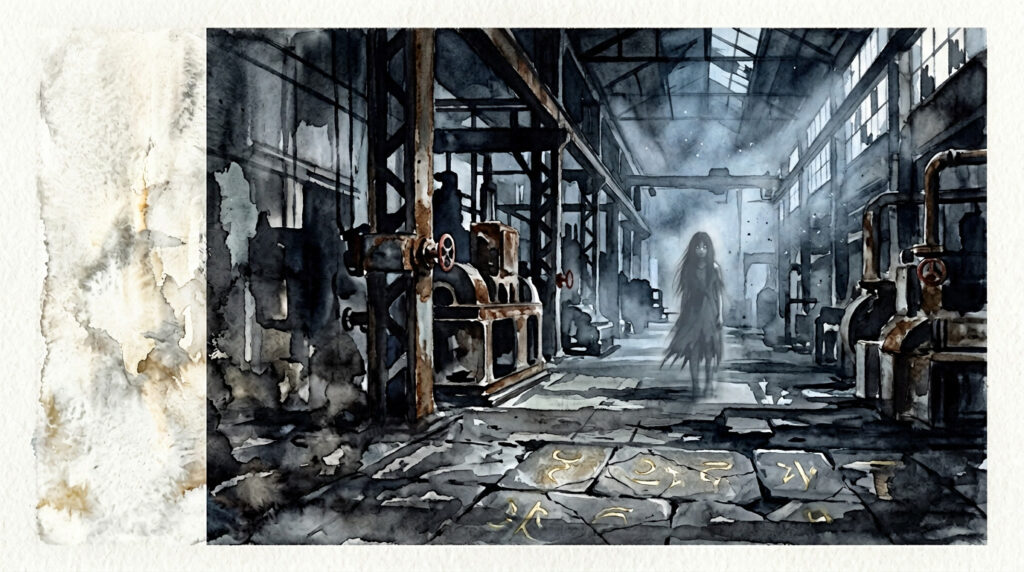
You went to an abandoned factory looking for nothing in particular. You found Miyuki — a ghost girl with a split personality and a disturbingly strong grip on who gets to leave. Now you’re trapped, and the only path to a different fate runs through a handful of scattered stone slabs hidden somewhere in those rusted halls.
If you’ve been wandering in circles trying to figure out what the Shards actually do, why the ritual keeps failing, or how the game’s seven endings connect to the items you collect — this guide covers all of it. No padding. Just what matters.
What Are the Shards (Slabs)?
In Shards of Solitude, the collectibles referred to by the community as “Shards” are officially in-game stone slabs — ancient inscribed fragments tied to a supernatural ritual. They are not currency, not crafting materials, and not passive pickups. Their sole function is to unlock the ritual ending path, which allows you to bind Miyuki rather than simply escape — or die trying.
Each slab contains a piece of information you need: fragments of Miyuki’s name and her date of death. Together, the complete set makes it possible to perform the binding ritual at a designated location in the factory. Miss even one, and the ritual fails entirely.
The factory map is procedurally laid out in terms of item placement. Every run, the slabs spawn in different rooms. This is intentional — the developer designed the game so that players must build a mental layout of the factory rather than follow a static checklist. Players who have memorised door connections, locked area sequences, and safe corners have a dramatically easier time.
The second problem is that there’s no UI counter showing how many slabs you’ve collected. You have to track this yourself, which makes panicked runs especially punishing. Community feedback has flagged this as the biggest friction point in the game.
Shard Spawn Zones — Factory Map Overview
Because placement is randomised, what you’re really learning is which zones can contain slabs. Below are the confirmed spawn regions that players have documented across multiple runs. Check these areas systematically before Miyuki’s passive phase ends.
All 7 Endings — What the Shards Unlock
Your relationship with the slabs determines which endings are reachable. The three-difficulty structure gates content deliberately — Hard difficulty unlocks three additional conclusions, and a seventh secret ending sits beyond all of them, requiring specific choices across the run.
| Ending | Difficulty | Shard Requirement | Notes |
|---|---|---|---|
| Just Let Me Go | Normal | None — escape without ritual | Standard escape route. Achievement: “Just let me go!” |
| Together. Forever. | Normal | Accept Miyuki’s help | Unlocks by trusting her in the passive phase. Achievement: “I trust you” |
| Resignation to Fate | Normal | None — die without resisting | Does not count toward completion achievements |
| Liberation | Hard | All slabs collected + ritual complete | Core “true” ending. Achievement: “Reach the Liberation ending” |
| A Deserved Fate | Hard | Ritual attempt fails | Secret-tagged — precise trigger conditions still being documented |
| Hard Escape | Hard | None — reach exit on Hard | Miyuki is in lethal state throughout; significantly harder than Normal escape |
| Secret Ending | Secret | Specific choices + all slabs | Exact trigger is community-contested as of May 2026. Likely tied to the ritual sequence decisions |
How to Collect Slabs Efficiently
The ritual ending — and the Liberation achievement — is the hardest content in the game. The community broadly agrees that the slab-hunting phase during Miyuki’s aggressive state is where most players fail. Here’s what actually works.
- Memorise the map in Normal first. The room connections don’t change between runs even when item placement does. Two or three Normal clears will build the mental layout you need for Hard mode slab hunting.
- Use the passive phase aggressively. In Normal difficulty, Miyuki stays non-hostile for several minutes at the start. Use every second to identify slab spawn locations before she turns. Mark rooms mentally as you go.
- Place traps near high-density shard zones. The boiler room and eastern corridor are prime trap positions — they slow Miyuki down enough to grab a slab and break line-of-sight before she recovers.
- Track your count manually. Since there’s no HUD counter, some players use fingers or quietly count aloud. You need every slab — arriving at the ritual site one short means restarting from the beginning of the run.
- The pistol is a delay tool, not a kill weapon. Shooting Miyuki temporarily neutralises her — it doesn’t end the encounter. Save shots for moments when you’re one slab away and she’s closing in fast.
- Avoid the central factory floor when she’s hostile. Her detection arc in the open central area is the widest in the map. If you have remaining slabs to find, clear perimeter rooms first and save the floor for last when you’re nearly done.
The Ritual — What Happens After You Collect Everything
“She’s just lonely. That’s all this ever was — loneliness with nowhere to go.”
Once you have all slabs, the ritual phase begins at a fixed altar location in the factory. The challenge shifts from scavenging to navigation: you must follow Miyuki’s voice to reach the correct location. The problem is that the factory’s acoustics create heavy reverb, making her exact position genuinely difficult to pinpoint.
Going the wrong direction in the ritual phase means instant death and a full restart — not a checkpoint. This is the mechanic that divides the community most sharply. The reward for succeeding is the Liberation ending, which recontextualises Miyuki’s entire arc and is widely considered the game’s most emotionally resonant conclusion.
For the secret ending, player-documented evidence suggests that specific interaction choices with Miyuki during the passive phase — including accepting her help (earning the “I trust you” achievement mid-run) — may influence the outcome of the ritual sequence. This is still being tested by the community as of May 2026.
Understanding Miyuki’s Dual Personality
The shard-hunting experience changes drastically depending on which state Miyuki is in. Her split personality is not just narrative flavour — it’s the central mechanical tension of the game.
In her calm state, she’s passive, curious, and occasionally makes playful gestures. Players can even trigger small interactions — giving her a hug, watching her pose — without immediately triggering aggression. This window is when slab routes should be mentally locked in.
In her hostile state, Miyuki actively hunts you, sets traps throughout the factory, and on Hard difficulty gains a new lethal mode that makes direct confrontation almost impossible. Her aggro is triggered by proximity, line of sight, and loud actions — so quiet, methodical movement is always preferable to sprinting when she’s nearby.
On the best horror games list, Shards of Solitude stands out precisely because the antagonist has genuine personality rather than being a simple chase mechanic. The emotional dissonance of collecting ritual items to bind someone who is genuinely just lonely gives the shard-hunting loop a distinct psychological weight.