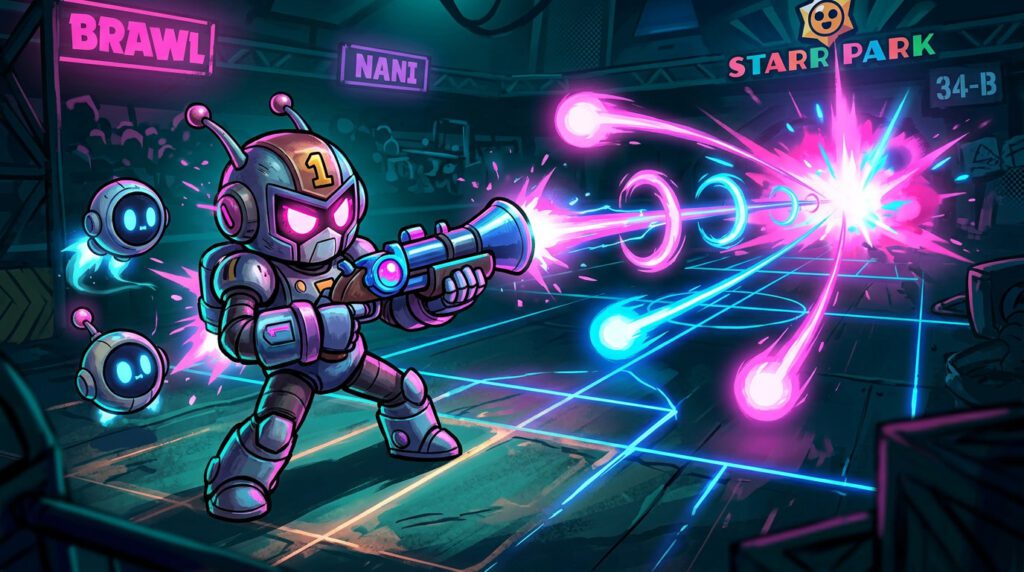
Nani is not a brawler you pilot—she is a precision instrument that rewards spatial intelligence above raw mechanics. In an April 2026 meta crowded with high-HP brawlers and Hypercharge chaos, her ability to delete a target from across the map in a single converged volley remains uniquely oppressive. Skill floor: high. Skill ceiling: essentially unlimited. This guide assumes you already know the basics and are here to push into Master-tier play.
01 — Technical Data & Damage Math
All figures are Level 11 base stats. The 2026 balance patch (March 18) left Nani’s damage untouched while nerfing several of her core counters—her effective threat window has widened.
Burst Score: Tanks vs. Squishies
The “Burst Score” measures how many Full Focus shots Nani needs to eliminate a target, factoring in common Shield Gear values seen in 2026 ranked play.
| Target Brawler | HP (Lvl 11 + Shield) | Shots to Eliminate | Burst Score |
|---|---|---|---|
| Crow | 3,600 → ~4,140 | 1 Full Focus | One-Shot |
| Belle | 3,800 → ~4,370 | 1 Full Focus | One-Shot |
| Piper | 4,600 → ~5,290 | 2 shots (or 1 + Peep) | Burst |
| Buster | 11,200 → ~12,880 | 4 Full Focus shots | Sustained |
| Frank | 12,000 → ~13,800 | 4+ shots; avoid | Unfavourable |
| Darryl | 8,400 → ~9,660 | 3 shots; respect roll | Manage |
02 — Orb Geometry: Maximizing Hit Probability
Nani fires three orbs that splay outward and converge at a fixed distance (~8.5 tiles). Most players know this. What separates Master-tier Nani from good Nani is understanding the geometry’s exploitable edges. (For the underlying math, see our breakdown of geometry formulas in game development.)
Convergence Zone Control
- Full Focus Window — The convergence “sweet spot” is approximately 0.8 tiles wide at max range. At close range the orbs haven’t converged yet; at beyond max range they’ve already spread again. Train your brain to visualize the convergence ring, not a crosshair.
- Pre-aim the Tile, Not the Brawler — Against mobile targets, aim where they will be in ~0.3 seconds. Nani’s projectiles travel fast but not instantaneously. Predict lateral movement, especially against Crow and Belle who dodge-strafe habitually.
- The Wall-Clip Exploit — Because orbs curve outward before converging, the left and right orbs pass around narrow cover (thin walls, crates). An enemy hiding behind a 1-tile wall is not safe. Use this aggressively in Bounty’s small-cover maps.
Distance Scoring Chart
| Distance to Target | Orb State | Effective Damage | Usage |
|---|---|---|---|
| 2–4 tiles (close) | Spread — not converged | ~900–1,400 (1–2 orbs) | Avoid. Retreat and reset. |
| 5–7 tiles (mid) | Converging | ~2,800 (2 orbs reliable) | Good for poke / chip damage. |
| 7.5–9 tiles (optimal) | Full convergence zone | 4,200 (3 orbs) | Primary kill range. |
| 9+ tiles (long) | Spreading out again | Variable; aim compensation needed | Use only with stationary targets. |
03 — Peep Masterclass: Advanced Super Usage
The majority of Nani players use Peep as a homing nuke. That’s correct at baseline, but in 2026 ranked play, most opponents will dodge or bodyblock it. The following tactics are what separate the top 0.1% from the rest.
Manual Detonation Timing Windows
- Instant Gap-Close Punish — When an assassin (Mico, Lily, Kit) jumps toward you, launch Peep and detonate it immediately at your feet. The knockback and burst damage buys the 1.5–2 seconds you need to land a Full Focus follow-up. This is a reactive save, not an aggressive play.
- Wall Demolition — Destructible walls in Heist and certain Brawl Ball maps can be cleared with a mid-flight manual detonation. This opens sightlines that didn’t exist at the start of the match—a massive positional advantage in late-game scenarios.
- Fake-Out Detonation — Fly Peep toward a cluster of enemies. As they begin to scatter, detonate early to catch the one who over-committed to their dodge. Requires reading enemy reactions in real time.
- Cross-Map Pressure — In Bounty, send Peep toward the enemy sniper while they’re focused on someone else. Even if they dodge, the threat forces repositioning and interrupts their aim cycle. Peep’s value is not always in the kill.
Return to Sender Gadget — Full Synergy Breakdown
This gadget reflects up to 80% of incoming damage back to the attacker, capped at one use per activation. In the 2026 meta it counters every long-range sniper in the game.
| Scenario | Reflected Damage | Practical Outcome |
|---|---|---|
| Piper full-charge shot (~5,400) | ~4,320 reflected | Piper is almost guaranteed dead. Nani tanks ~1,080. |
| Belle charged shot (~3,200) | ~2,560 reflected | Belle drops to critical HP. Chain-hit orb finishes her. |
| Mandy full shot (~4,000) | ~3,200 reflected | Mandy instantly in kill range for a single Nani orb. |
| Buster’s shielded allies | N/A (blocked) | Gadget is wasted if Buster’s shield absorbs the hit. Don’t activate blindly. |
04 — Competitive Loadout 2026
| Slot | Choice | Why It’s Mandatory | Situational Swap |
|---|---|---|---|
| Gadget | Return to Sender | Counters the sniper meta entirely. Turns duels into net wins. | Warp Blast if facing heavy assassin pressure (Mico/Kit meta) |
| Star Power | Autofocus | Scales Peep’s damage with travel distance. Essential for Bounty cross-map kills. | Tempered Steel in close-quarter modes (Hot Zone) |
| Gear 1 | Damage | Below 50% HP (frequent for Nani) unlocks a +15% damage modifier. Your “comeback” mechanic. | Keep Damage Gear in all modes. |
| Gear 2 | Shield | Adds ~900 HP buffer. Pushes Nani over the one-shot threshold against most snipers. | Speed Gear if facing dive-heavy compositions. |
Hypercharge Meta Consideration
Nani’s Hypercharge amplifies Peep’s travel speed and explosion radius by ~20%. In a Hypercharge-active meta, the Autofocus Star Power synergizes directly—faster travel means Autofocus damage bonus accumulates more quickly across a match. If Hypercharge is available, prioritize charging it via consistent Full Focus hits rather than partial shots.
05 — Strategic Matchups
✦ Hard Counters — Nani Wins
- Piper — Return to Sender reverses her burst. Autofocus Peep punishes her immobility.
- Belle — Same sniper logic. Belle’s chain-hit only matters if she hits first.
- Crow — 4,200 one-shots him. He has no answer to a clean Full Focus at 8 tiles.
- Bea — Immobile, fragile. Easy Full Focus target. Avoid her super-charged shots.
- Mandy — Gadget reflects her core damage. She has no Plan B.
✦ Hard Threats — Nani Loses
- Lily — Teleports inside your convergence zone. No time to react. Needs a tank frontline.
- Kit — Rider passive makes him nearly impossible to peel off. Request peel from teammates.
- Mico — Airborne approach bypasses wall geometry entirely. Warp Blast gadget helps.
- Buster — Shield absorbs Full Focus. His HP pool is too deep for burst-down.
- Amber — Sustained area damage forces Nani off optimal range. Constant repositioning required.
Best Team Compositions
| Composition Name | Teammates | Why It Works | Mode |
|---|---|---|---|
| Vision Trap | Tara + Grom | Tara’s Gravity clusters enemies directly into Nani’s Full Focus convergence range. Grom provides secondary long-range pressure. | Bounty, Knockout |
| Dive Shield | Ash + Nani | Ash absorbs assassins and generates rage, acting as a meat shield. Nani operates freely from behind. | Knockout, Hot Zone |
| Double Sniper | Piper + Nani | Cross-map poke saturation. Enemies cannot advance without eating a shot. Add a tank in Slot 3. | Bounty |
| Duo Showdown | El Primo | El Primo runs at enemies and forces them to react. Nani picks off anyone who breaks cover or kites. | Duo Showdown |
06 — Map & Mode Rotation
Nani’s effectiveness is heavily map-dependent. Long sightlines, sparse destructible cover, and central open zones are her ideal conditions. Below is the current S-tier rotation for ranked play.
Bounty
Knockout
Heist
Nani’s most underrated weapon is ammo discipline. Holding 3 orbs in reserve signals to the enemy that one mistake ends them. Opponents who fear a Full Focus play conservatively—they over-peek less, they contest fewer zones, they group less. The “shot you didn’t take” creates as much map control as the one you did. Master the pause, and you master Nani.
Looking to branch out? Explore the full Brawl Stars brawler roster →