By the time you finish reading this, you’ll never look at a Roblox game the same way again.
The Superpower You Didn’t Know You Had
Every time you play a Roblox game, you’re experiencing someone else’s imagination. The obstacle course you just beat? A 12-year-old built that. The tycoon game you spent three hours on? Started as a blank screen, just like the one you’re about to open.
Here’s the secret nobody tells you: playing games is fun, but building them is a superpower.
Building games teaches you skills that go far beyond the screen — and if you want to see just how deep the rabbit hole goes, our full guide on how to make a video game in 2026 breaks down everything from concept to launch in a way that makes the whole process feel achievable.
When you play, you follow someone else’s rules. When you build, you make the rules. You decide if the lava is slow or fast, if players get one life or ten, if the music feels scary or exciting. That’s not just gaming — that’s engineering, storytelling, and math all wrapped into something that feels like play.
And the tool that makes it all happen? A real programming language called Lua (pronounced LOO-ah). Lua isn’t a “kid’s coding language” made just for practice. It’s used in professional game engines, apps like Adobe Lightroom, and even NASA software. When you write Lua in Roblox Studio, you’re learning a skill that actual software developers use every day.
The best time to start was yesterday. The second best time is right now.
Setting Up Your Workshop
Think of Roblox Studio as digital LEGO — but with superpowers. Regular LEGO lets you build anything you can imagine. Roblox Studio does the same thing, except your creations can move, think, react, and be played by millions of people around the world.
Download Roblox Studio for free at roblox.com/create and sign in with your Roblox account. When you open it, choose the Baseplate template. You’ll see a big grey floor and a blue sky. That’s your universe. You built it, and right now it’s empty — which means it’s full of possibility.
If you’re curious about just how big the world you’re stepping into is, take a look at our complete guide to Roblox charts — the numbers will genuinely surprise you, and they make building something on this platform feel even more exciting.
Your Three Most Important Tools
The Studio interface might look overwhelming at first, but you really only need to understand three panels to get started.
The Explorer (top-right panel) is your game’s family tree. Every single object in your game — the floor, the lava, the sky — lives as a branch on this tree. Click any item in the Explorer to select it in your world, or select something in the world to find it in the tree. It shows you everything that exists in your game.
The Properties panel (bottom-right) is like a “settings menu” for whichever object you’ve selected. Want to change a brick from grey to red? That’s here. Want to make it bigger, transparent, or glowing? Also here. Think of it as the object’s personal ID card — every detail about what it looks, weighs, and behaves like is listed in Properties.
The Toolbox (left side, found under the View tab) is your supply closet. It’s packed with free models, meshes, textures, and scripts that other creators have shared. As a beginner, you won’t need it much today — but later, it becomes invaluable.
Pro Tip
Press F on your keyboard after selecting any object to zoom the camera directly to it. You’ll use this constantly, and most beginners don’t discover it for weeks.
The Project: Build “The Lava Jump” (Your First Mini-Obby)
An obby (short for obstacle course) is one of the most popular game types on all of Roblox — and it’s the perfect first project because the rules are simple: don’t touch the lava, reach the end, win. Let’s build one.
Step 1: Create Your First Platform
On the top toolbar, click the Model tab. You’ll see a section called Part — click it. A grey brick will appear floating in the middle of your world. That’s a Part, which is the basic building block of everything in Roblox. Every wall, floor, lava tile, and button you’ll ever make starts as a Part.
Use the Scale tool (press R) to drag the handles and make it wider and flatter — something like a stepping stone. Then use the Move tool (press E) to drag it so it sits just above the Baseplate.
Create two or three more platforms this way, spaced apart like stepping stones across a river. Make some of them close together and easy, and one of them far apart and scary. That gap is where the tension lives.
Step 2: The #1 Mistake Every Beginner Makes (And How to Avoid It)
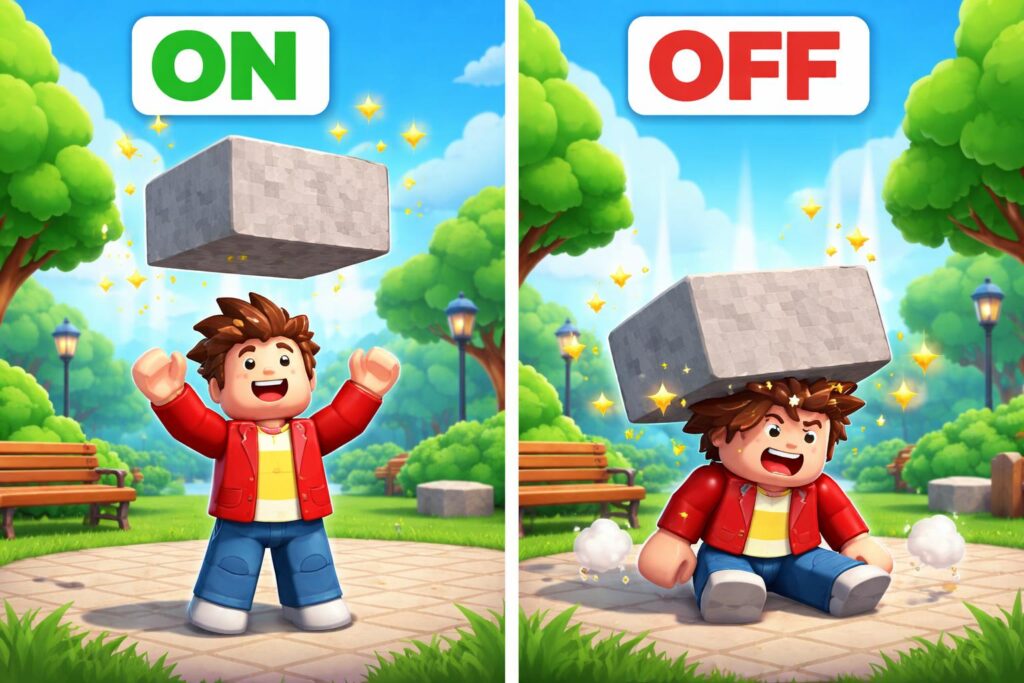
Here it is, the mistake that has ruined thousands of first games: forgetting to Anchor your parts.
When you press Play to test your game, Roblox activates physics. Every unanchored object will obey gravity and fall. Your beautiful platforms? Gone. Fallen into the void. Your lava tiles? Scattered across the map.
Anchoring is like giving your parts anti-gravity boots. It tells Roblox: “This object stays exactly where I put it, no matter what.”
To anchor a part, select it, go to the Properties panel, scroll down to find the Anchored checkbox, and make sure it’s checked (ticked). Do this for every platform you build. Make it a habit — select part, anchor, move on.
Step 3: Create the Lava
Add a new Part and place it in the gaps between your platforms — this is the lava floor. In the Properties panel, find BrickColor or Color and change it to a bright red or orange. Then find Material and change it to Neon to make it glow. Beautiful, deadly, and satisfying.
Anchor this part too.
Rename it by right-clicking it in the Explorer and selecting Rename. Call it LavaPart. Good names keep your project organized, and organized projects don’t turn into disasters.
Once your lava jump is live and your friends have ragequit on it at least three times, your natural next challenge is learning how economy and progression work in games — and Tycoon games on Roblox are the perfect place to study that, blending building skills with game design thinking in a way that feels like a natural step up from an obby.
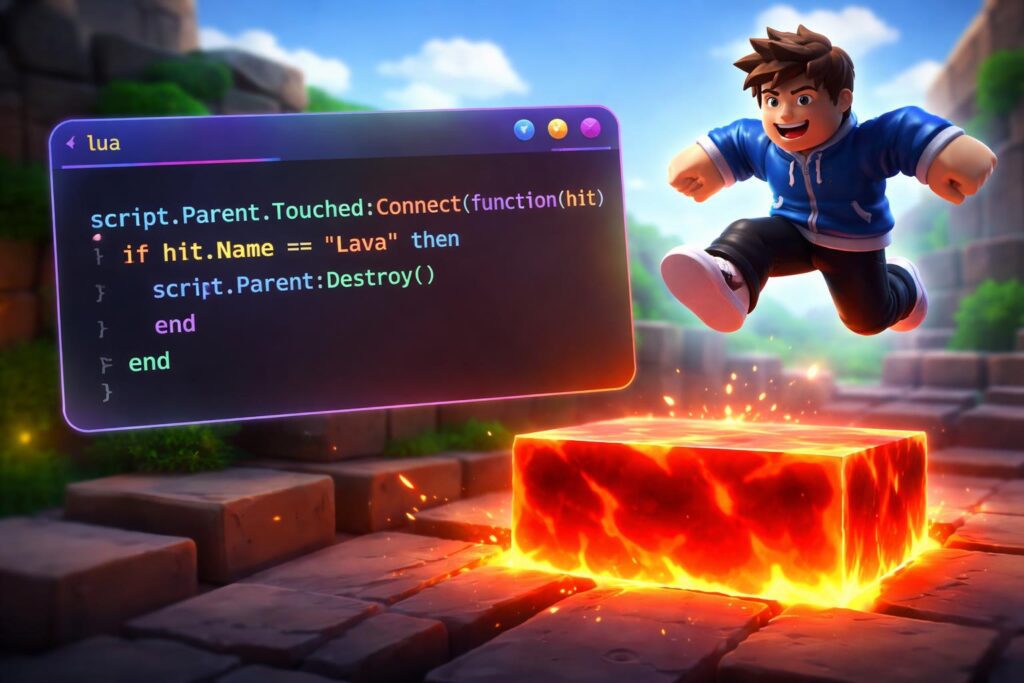
The Magic: Making the Lava Actually Kill Players
A red glowing brick looks like lava. But right now, if you step on it, nothing happens. To give it actual power, we need to add a Script — a set of instructions written in Lua that tells Roblox how the lava should behave.
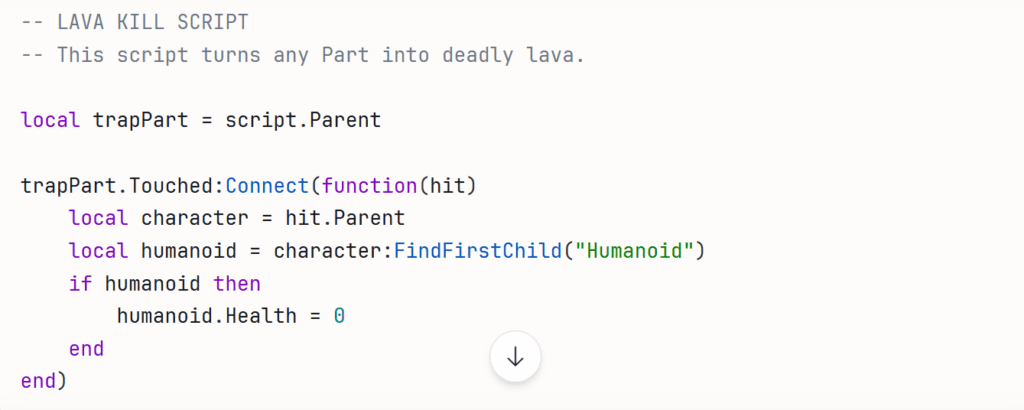
Right-click on your LavaPart in the Explorer. Select Insert Object, then choose Script. A script editor will open with a default line. Delete everything in it, and type (or carefully copy) this:
Understanding the Magic, Line by Line
This isn’t just code to copy — it’s a story. Here’s what each part is saying:
local trapPart = script.Parent This creates a variable (think of it as a labeled sticky note) called trapPart. We’re telling Lua: “I want to refer to the Part that this script lives inside. Call it trapPart.” Now instead of describing the whole object every time, we just say its nickname.
trapPart.Touched:Connect(function(hit) This line is the “listener.” It tells Roblox: “Watch this Part constantly. The moment anything touches it, run the instructions below.” The word hit becomes a nickname for whatever touched the lava — a player’s arm, leg, torso, or even a rolling ball.
local character = hit.Parent When a player’s leg touches the lava, hit is the leg. But we don’t want to affect just a leg — we want to affect the whole character. In Roblox, a character’s limbs are all children of the character model. So .Parent means “go up one level — give me the whole character.”
local humanoid = character:FindFirstChild("Humanoid") Every Roblox player character has something called a Humanoid — it’s the invisible component that manages health, animations, and whether someone is alive. :FindFirstChild("Humanoid") is Lua politely asking: “Does this character have a Humanoid? If yes, give it to me.” This check is important because other objects (like rolling parts) can touch the lava too, and they don’t have Humanoids.
if humanoid then humanoid.Health = 0 end This is the decision. “IF a Humanoid was found, THEN set its Health to zero.” Health zero means the character dies and respawns. The if check protects the script from crashing when a non-player object touches the lava.
In plain English: The script watches the lava. When something touches it, the script checks whether that something is a player. If it is, the player’s health drops to zero and they respawn.
🤔 Did You Know?
Variables in Lua (like local trapPart) are like giving your pet a name. Instead of saying “the big brown fluffy dog who lives at 42 Oak Street” every time, you just say “Buddy.” Code works the same way — names make things faster, clearer, and easier to change later.
Now press the big Play button to test your game. Walk your character onto the lava. They should die and respawn instantly. If it works — congratulations. You just wrote your first working program.
A Note for Parents: Why This Is That Kind of Screen Time
There’s screen time that drains, and screen time that builds. This is the second kind.
When your child builds a game in Roblox Studio, they’re not just having fun (though they absolutely are). They’re encountering logic and sequencing — a script only works if the steps are in the right order, just like instructions in any real-world system. They’re applying spatial reasoning and geometry when they position platforms and calculate jump distances. They’re developing reading comprehension as they parse error messages and documentation. And they’re building resilience — because in coding, things break constantly, and you have to debug them calmly.
The Lua scripting they’re learning is a real, professional programming language. The problem-solving habits they’re developing — breaking a big goal into small steps, testing and adjusting, naming things clearly — are foundational skills for virtually every STEM career.
On Safety: Roblox Studio is a development environment, separate from the public game platform. When testing locally, your child is not interacting with other players at all. When they’re ready to publish, you can configure the game as Private (only accessible via direct link, not discoverable by strangers). Roblox also has robust content moderation and parental controls accessible at roblox.com/parents, including spending limits, chat restrictions by age group, and account PIN protection. Building in Studio is one of the safest Roblox activities a child can do.
Before your child starts asking about earning or spending Robux, it’s worth sitting down together and reading through how Robux gifting works so you both understand the system clearly and can make decisions about it as a team.
10 Game Ideas for Kids
These ideas are designed to be simple to build but high in “Fun Factor” for beginners.
| Game Concept | Learning Outcome | Why Kids Love It |
| 1. Gravity Swap Parkour | Workspace Gravity settings | You can jump as high as a skyscraper! |
| 2. The Invisible Maze | Transparency & Collisions | Challenging friends to find the “magic path.” |
| 3. Pet Adoption Tycoon | Currency & DataStore basics | Everyone loves collecting cute companions. |
| 4. Speed Run: Neon City | SpeedPowerups & Humanoid.WalkSpeed | Feeling like a superhero/The Flash. |
| 5. Floor is Disappearing | wait() and Destroy() functions | High-stakes survival with friends. |
| 6. Color-Match Arena | Randomization & If/Then Logic | A fast-paced “stay on the right color” game. |
| 7. Giant vs. Tiny Obby | Scaling & Character Size | Seeing the world from a different perspective. |
| 8. Space Rocket Flight | Basic Physics & Velocity | Flying a ship you built yourself. |
| 9. Hidden Button Hunt | Exploration & Proximity Prompts | A “detective” game where you find secret doors. |
| 10. Laser Tag Royale | Tools & Damage Systems | Classic competitive action in a custom map. |
You Built a Game. Now What?
When you’re ready to share your creation with the world, click File → Publish to Roblox. Give your game a name, add a description, choose a thumbnail, and hit Create. Within minutes, it’ll be live on the platform — playable by anyone you share the link with.
Before you do, add a SpawnLocation (found in the Model tab) so players know where to start, and consider adding a simple finish line platform with a different color so players know when they’ve won.
You made a real game. It runs on real servers. That’s not a small thing.
🔥 Five Challenges to Keep You Building
Once your first Lava Jump is working, don’t stop there. Great game designers are always asking “what if?” Here are five questions to push you further:
Challenge 1 — Move the Lava: Can you make a lava block slide back and forth? Look up TweenService in the Roblox documentation. It animates objects between two positions on a timer.
Challenge 2 — Add a Win Condition: Create a platform at the end and add a script that displays a message when a player reaches it. What does game.Players let you access?
Challenge 3 — Speed Up the Danger: Add a script to a platform that removes itself 3 seconds after a player steps on it. Hint: look up task.wait() and :Destroy().
Challenge 4 — Build a Checkpoint System: Place SpawnLocations throughout your obby so players don’t start over completely when they die. This is a quality-of-life feature — the mark of a thoughtful designer.
Challenge 5 — Remix the Aesthetics: Give your obby a theme. Space? Underwater? Candy world? Change the Lighting settings (found in Explorer under Lighting) to shift the entire mood of your game in seconds.
If your creativity is already running ahead of the tutorial, spend some time playing and analyzing the best Roblox horror games — not just for the scares, but to study how their creators use lighting, sound, and level design to make a simple map feel genuinely unsettling. That’s advanced game design in action, and it’s something you can start experimenting with right now.
Every game on Roblox — every one of the millions of experiences played by 80 million daily users — started exactly where you are right now: a blank Baseplate, an empty Explorer, and an idea.
The only difference between you and the developer who made your favorite obby is time and practice. You’ve already taken the first step.
Now go build something the rest of us can play.
🔗 Resources: Roblox Creator Hub — create.roblox.com | Roblox Parent Guide — roblox.com/parents | Lua Documentation — lua.org